You’ve probably gone on a wild adventure where it rained the whole time, it was way colder than you anticipated, or everything seemed to break. You did not have fun in the moment. But you persevered and enjoyed sweeping summit views, crossed the finish line of the race, or found the perfect backcountry campsite. Now you reflect back on that experience with fondness, all suffering forgotten.
This is classic Type 2 fun.
Well, we engineers at Gaia GPS have been experiencing our own version of Type 2 fun, one that we’re calling Type 2 Engineering™. Most of us wouldn’t consider this period be the highlight of our career—we’ve been toiling away with little to show for it. But as we reflect on what we’ve accomplished over the past year or so, we realize just how strong of a groundwork we’ve laid. We’re giddy about what’s to come.
(Re)building the Team
Gaia GPS was built by brilliant, passionate engineers and outdoor enthusiasts, united around the goal of equipping themselves and others with the best tools to elevate their adventures. These individuals took an idea, their unwavering determination, and a heap of creativity to forge this extraordinary product from the ground up. They forged the field of exploring the backcountry and building the tools that they needed to stay safe and enjoy their own Type 2 fun.
Over time, new adventures began to call them, and Outside Inc. acquired Gaia GPS in 2021. Over the past year or so, we’ve rebuilt the team and are coming into our own as adventurers and engineers.
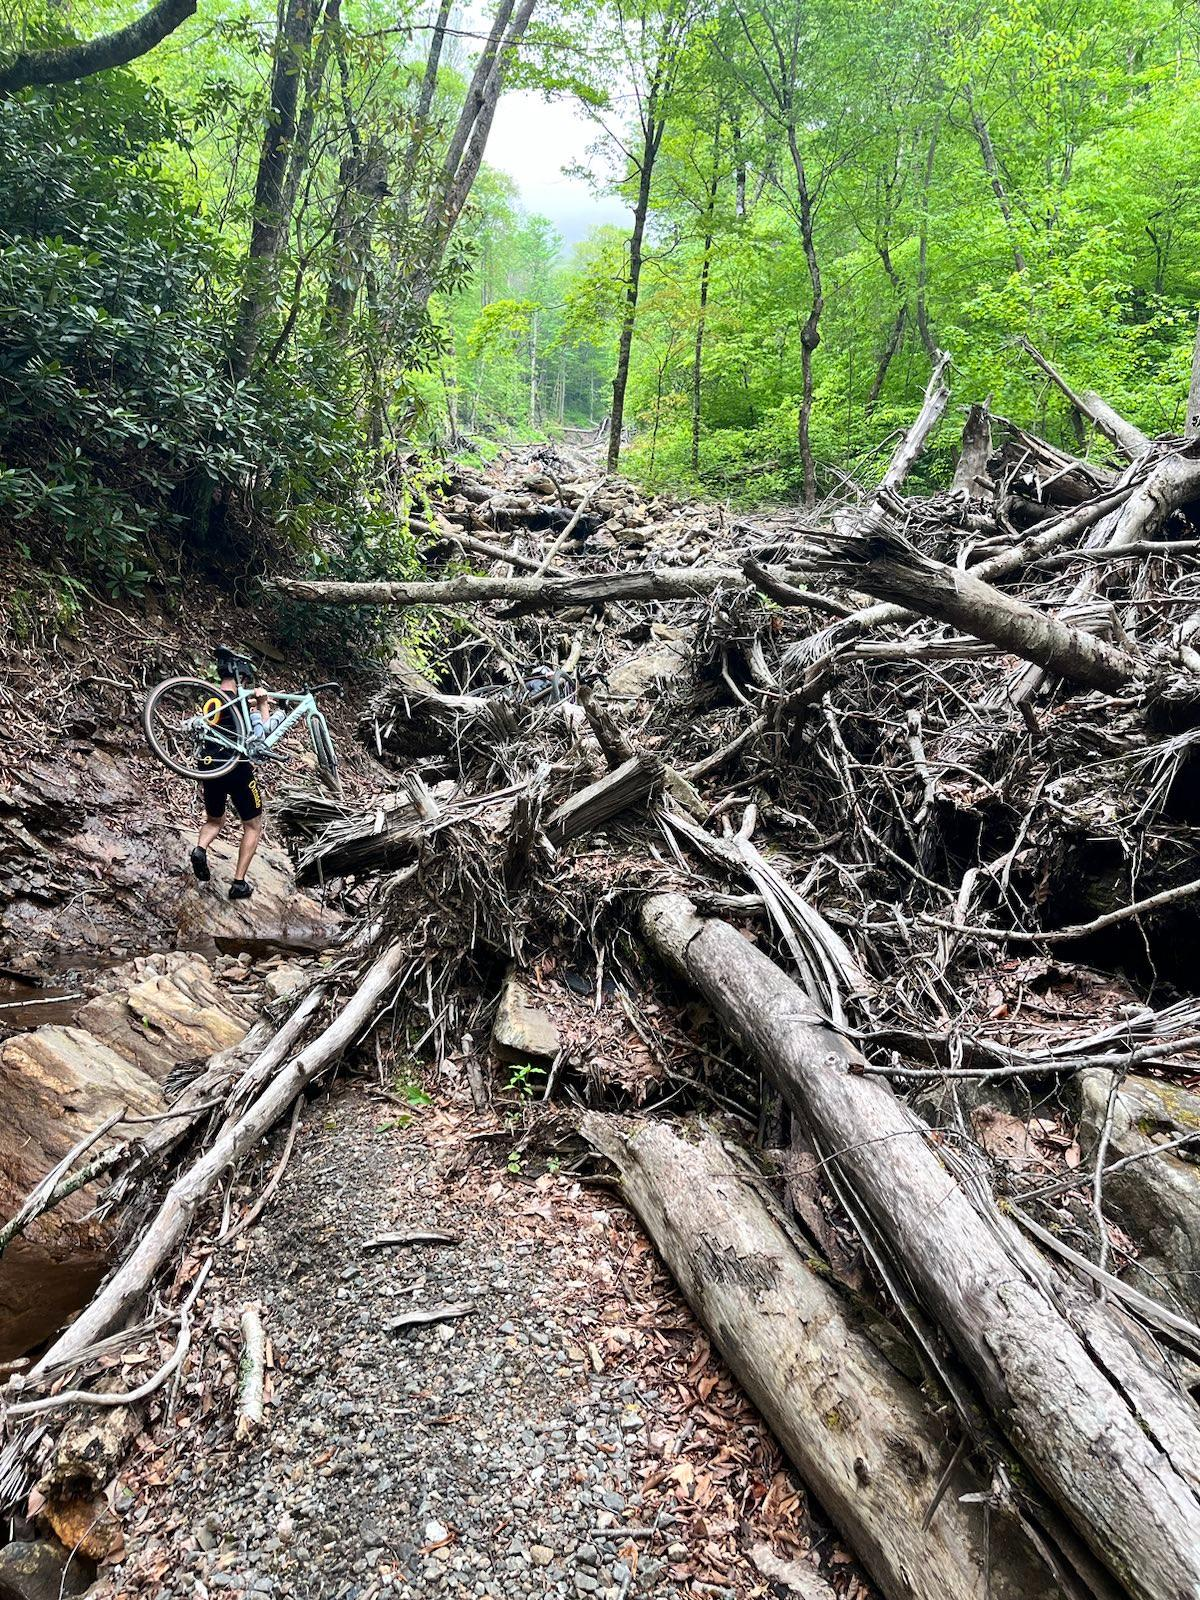
Bushwhacking
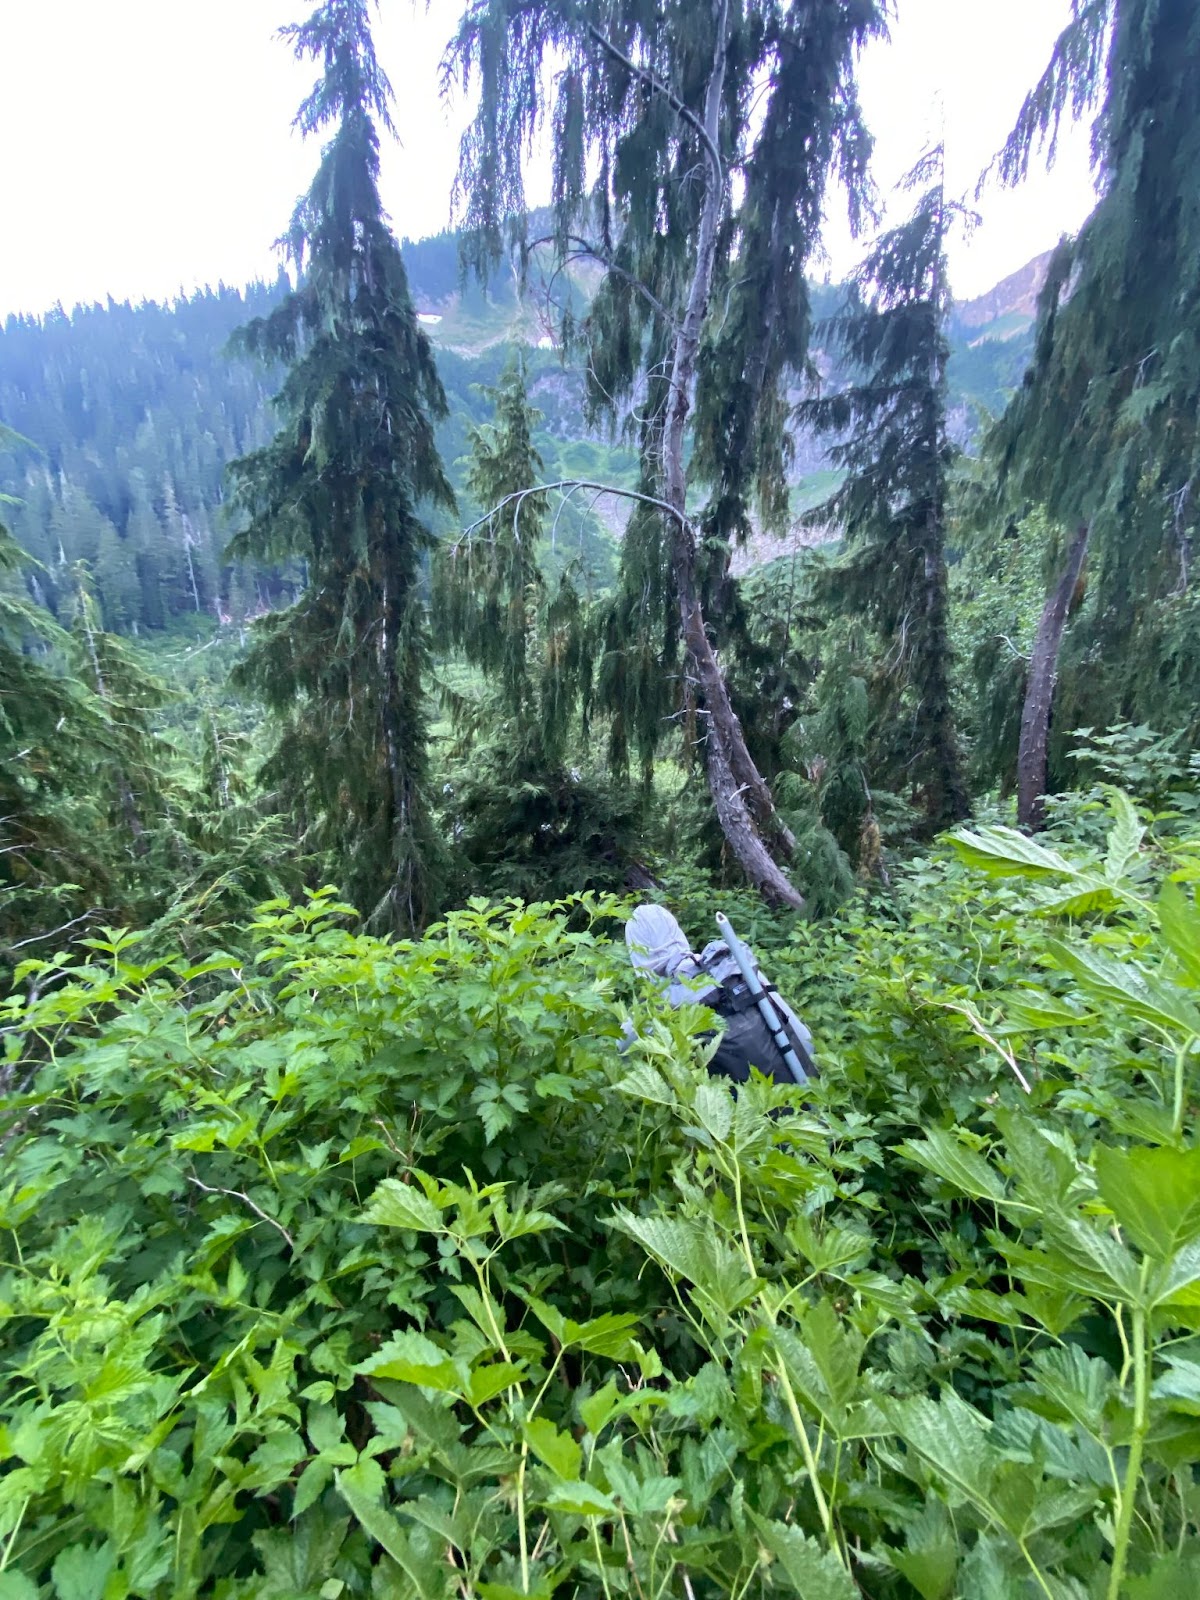
It’s quite unsettling when the trail you are following disappears, you realize that you forgot your paper map, and your phone battery dies. Orienteering is a difficult task on its own and grows more difficult without any kind of map or guide. This experience is not unlike beginning to work on a foreign and established code base–one that’s a forest of classes, database tables, and modules–without a mentor to guide you.
In these situations, you often find yourself looking for someone with tenure to answer questions about how various components were developed, designed, or just thrown together to solve an immediate problem. Well, as mentioned above, the team members who built Gaia GPS moved on. The few who remained didn’t have a map and there was no trail to follow. We were bushwhacking through the code base without a guide, feeling like archeologists attempting to understand the minds of those who built the system. As bushwhacking often leads to classic Type 2 fun, bushwhacking a code base is classic Type 2 Engineering™.
False Flats
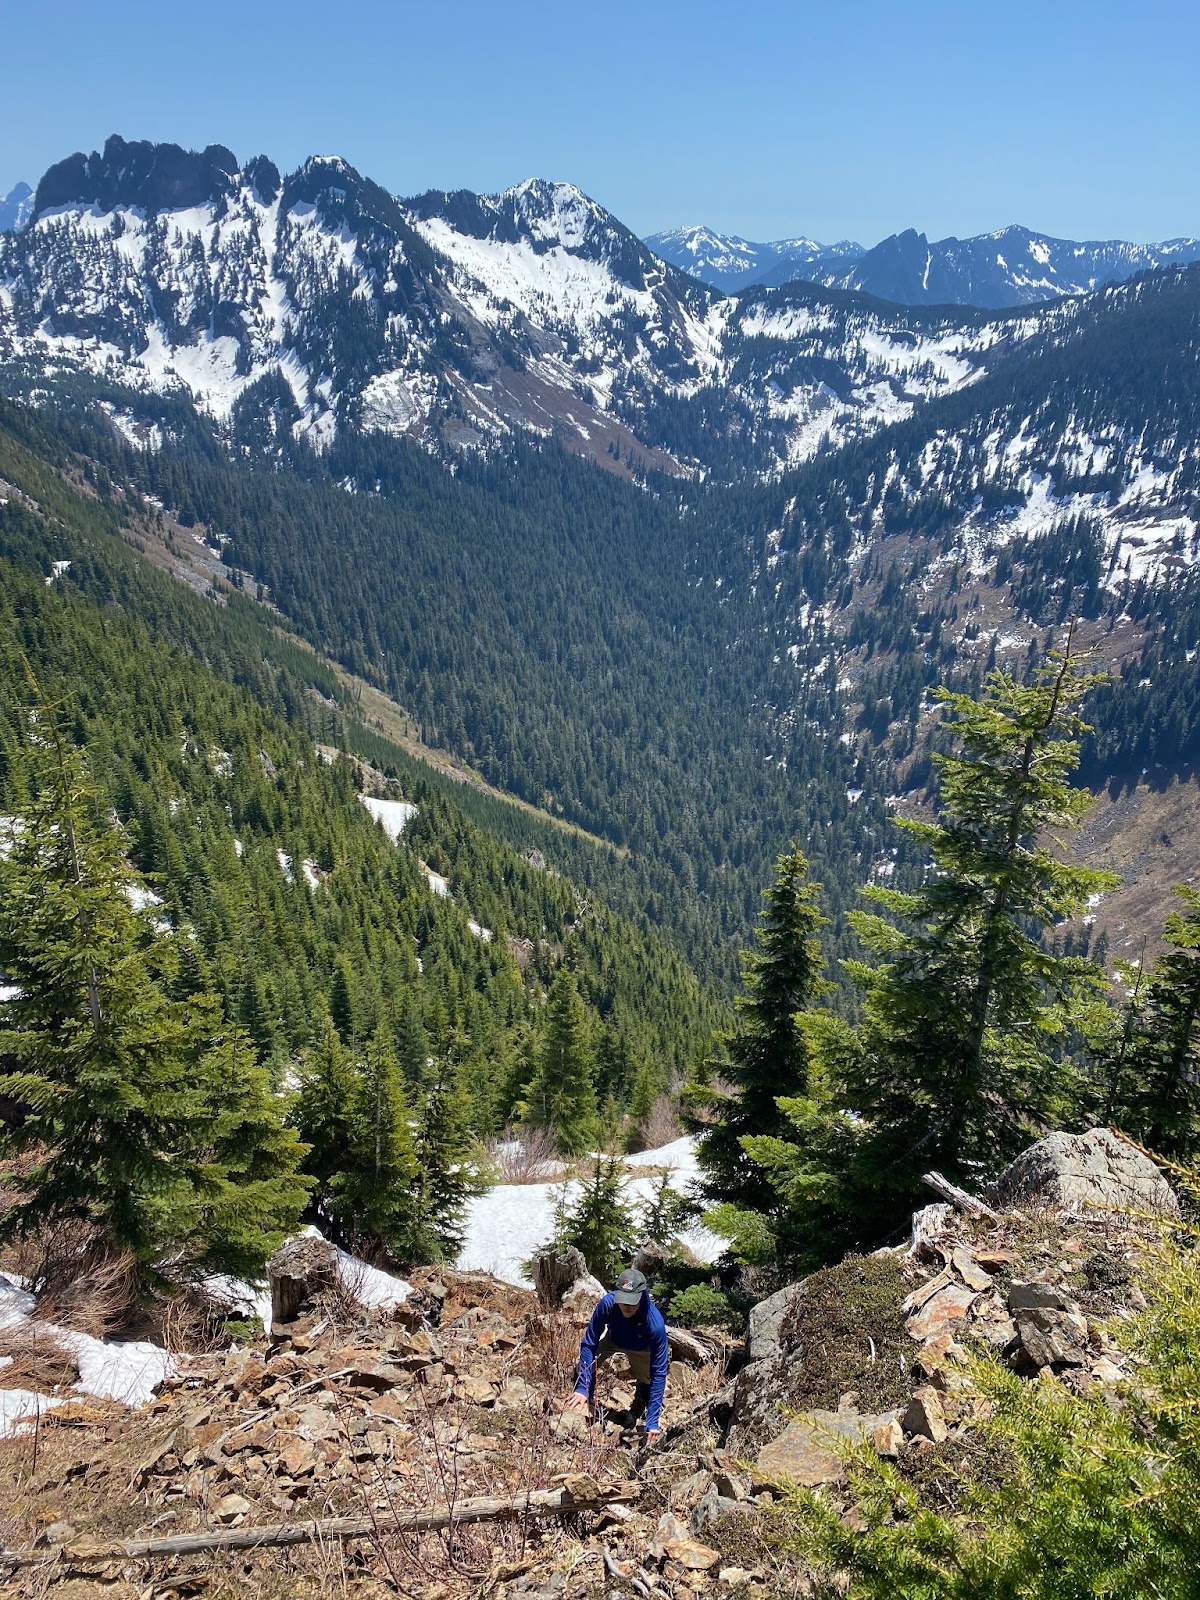
Even as we bushwhacked through the code base, we still needed to ship features and fix bugs. You might recall that we released colored waypoints last year. We all know what you’re thinking, “What a killer feature! It must have been soooo difficult to engineer a solution! I mean, how hard can it be?”
We are the first to recognize colored waypoints should have been a pretty trivial feature to ship, but the trail was full of false flats. It looked like it was going to be a quick hike to our destination, but the further we traveled, the more we realized everything was harder than it initially appeared. We encountered scaling issues, constraints from previous decisions, cross-team coordination challenges, and a number of other hurdles to ship what should have been low-hanging fruit. These types of false flats are typical indicators of Type 2 Engineering™.
Finishing the Feature
When you push yourself to improve physically and mentally, you inevitably come across obstacles that seem impossible to overcome. It could be a mountain bike jump you always case or a bouldering problem crux you just can’t complete cleanly. Similar types of challenges crop up in software development.
For us, this feature was shared folders. Collaborative editing is a hard engineering problem. There are large research efforts (like conflict-free replicated data types) and whole companies (like Dropbox) dedicated to it. But we’re not Dropbox, we’re a mapping app. And while we didn’t nail our initial shared folders implementation, we’ve made significant progress squashing bugs and improving our design.
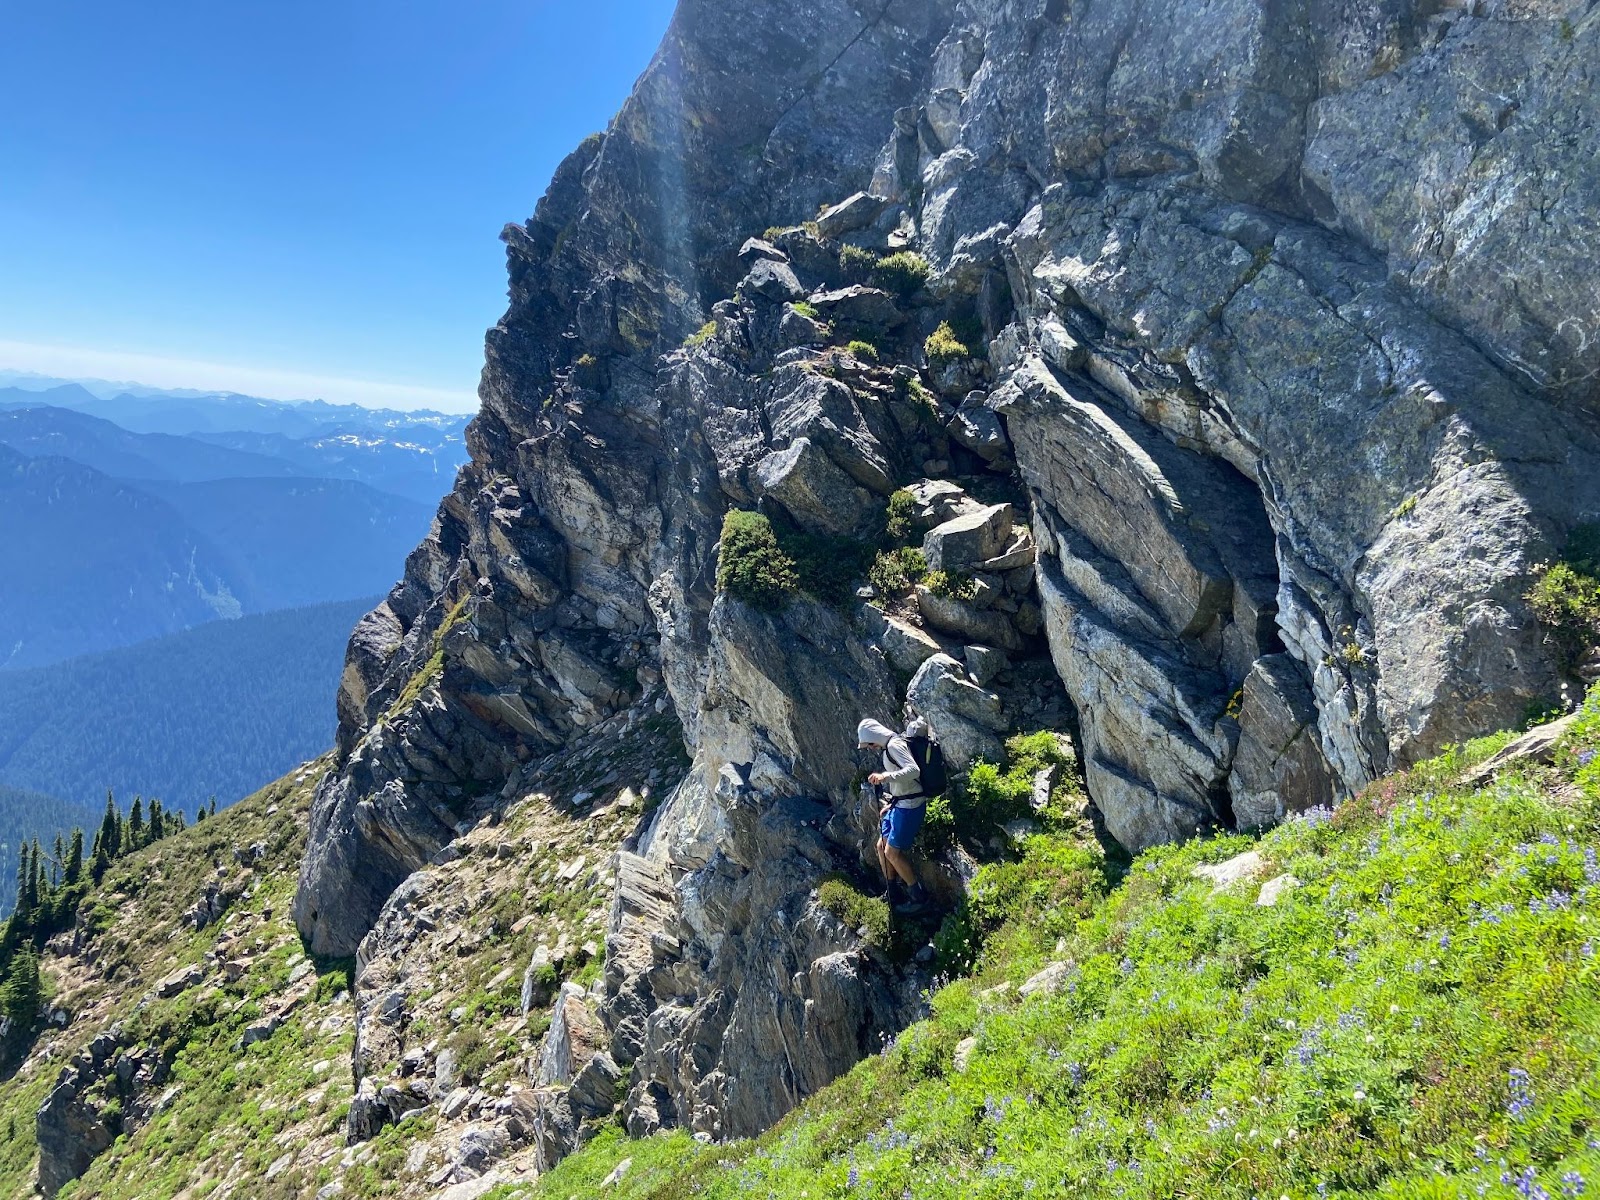
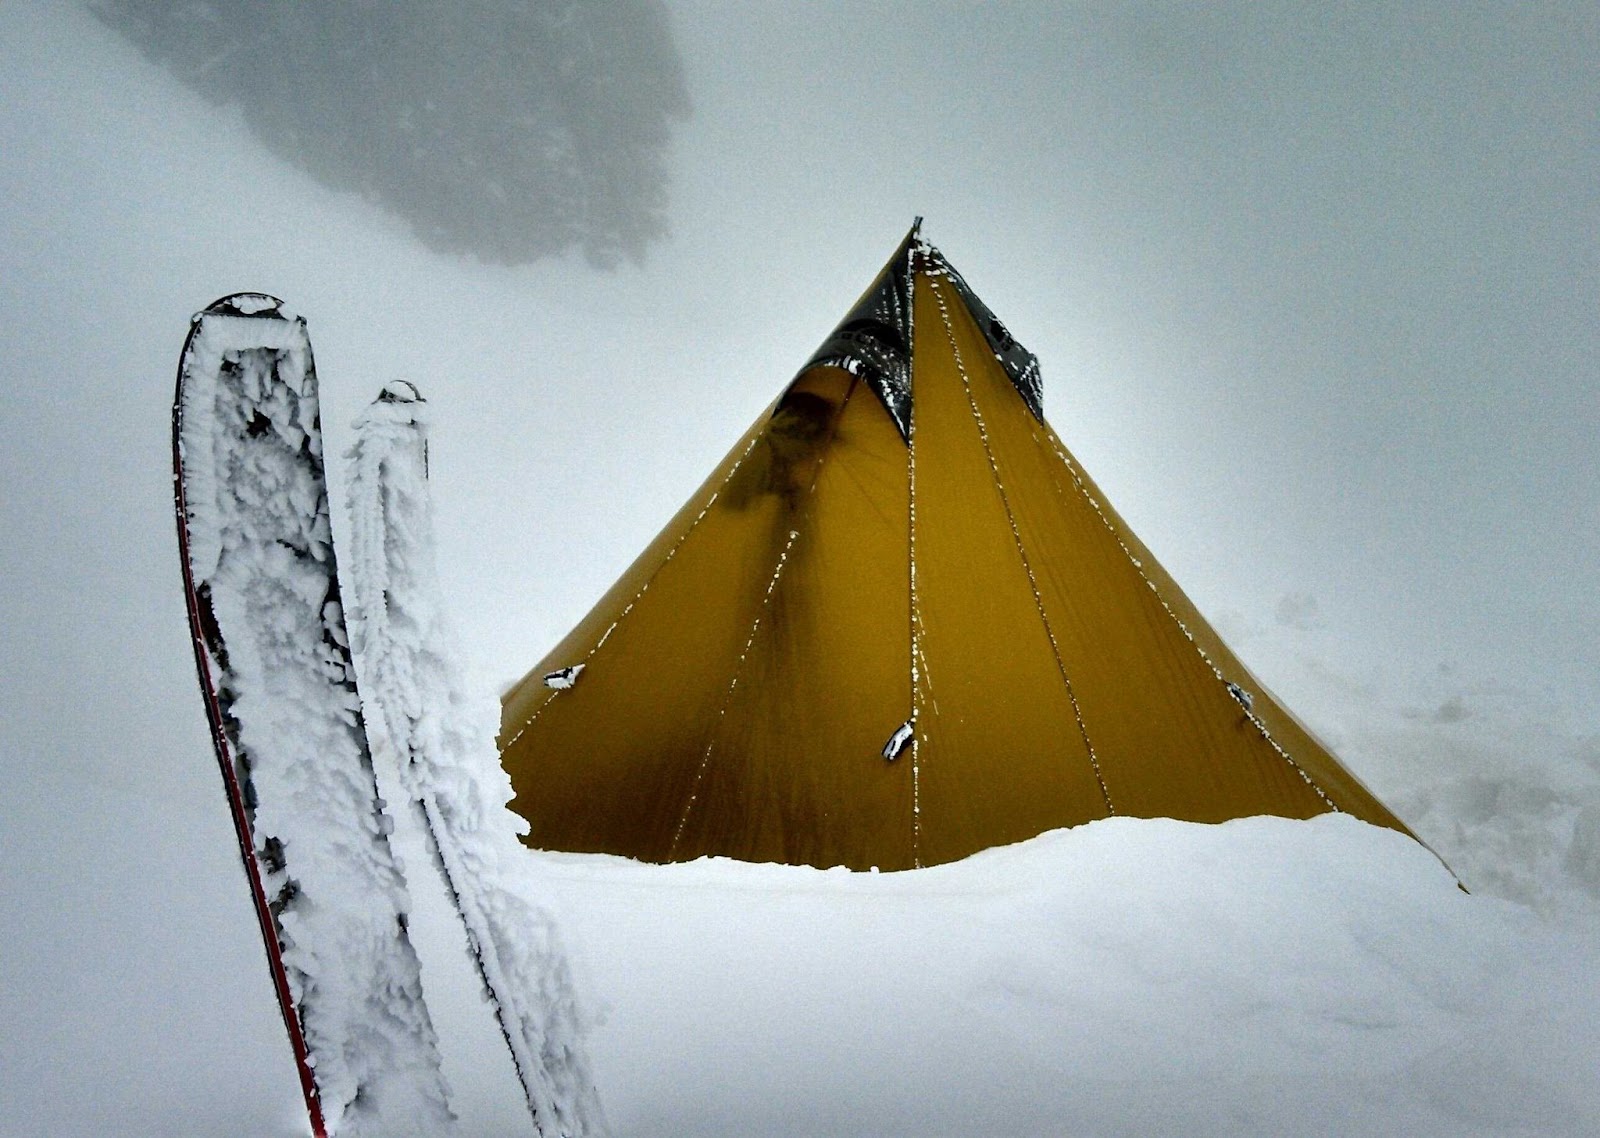
While on our adventure to clean up shared folders, there were numerous occasions when we found ourselves so deep down the call stack, it was hard to even remember the bug we were originally trying to fix. It’s that feeling you get when you’re hiking up high, the clouds roll in fast, and your visibility drops to zero. Adventure with a healthy amount of fear is a hallmark of Type 2 fun and Type 2 Engineering™.
Equipment Failure
Nothing lasts forever. Even the best products wear out after enough use.. And equiptment failure can quickly zap the joy from the experience. You probably know that feeling when your favorite hiking shoes become less comfortable, a portent of inevitable pain.
As software increases in complexity, users grow in number, and the app is used in unanticipated ways (I may be talking about the users who decided it would be cool to use Gaia GPS to record their flights), the system can fail in remarkable fashion. Solving these sorts of extraordinary failures can be filled with numerous false summits. Over the past year, we’ve accomplished a significant amount of work to stabilize our database. It had reached a tipping point, where we experienced some serious instability and unexpected failures. To stabilize, we were required to continually solve issues up and down the stack. We tuned parameters, managed bloat, and optimized query patterns. There was no silver bullet stabilizing the database required a huge yak shave. Suffering is the cornerstone of Type 2 Engineering™.
Suffering Together
So where’s the silver lining in all this toil? As is often the case when adventures turn into Type 2 fun, the shared experience builds a strong bond. The last year wasn’t easy, and to be honest, it wasn’t much fun. But going through it together with shared respect and mutual empathy has coalesced the team. We know each other better, our strengths and weaknesses, our passions, and our sense of humor. It really is the shared experience that makes Type 2 Engineering™ something that we can look back on with a chuckle and small sense of pride in what we accomplished. We haven’t reached the summit, but we’re committed to finishing.
Planning the Next Adventure
We’re feeling good and (mostly) fully recovered from the challenges we’ve overcome over the past year or so. We’ve begun to plan our next adventure and are excited to start shipping some cool stuff. With some tough lessons learned, we’re hoping to keep the Type 2 Engineering™ to a minimum.